1. Prepare Your Materials
Gather the materials you intend to bond together using the EVA hot melt sheet. Ensure surfaces are clean, dry, and free from dust or debris.
2. Cut the EVA Hot Melt Sheet
Measure and cut the EVA hot melt sheet to the desired size and shape using scissors or a utility knife for precise cuts.
3. Heat Activation
Heat the EVA hot melt sheet with a heat gun or iron set to a low temperature until it softens and becomes slightly glossy.
4. Positioning and Application
Place the softened EVA hot melt sheet between the materials to be bonded. Press firmly to ensure even contact and distribution of the adhesive. Hold until the sheet cools and solidifies.
5. Cooling and Bonding
Allow the bonded materials to cool completely. The EVA hot melt sheet solidifies, forming a strong bond between the surfaces. Avoid disturbing the bond during cooling.
6. Finishing Touches
Trim any excess EVA hot melt sheet if necessary after bonding is complete. Smooth out edges or seams for a clean finish.
7. Testing and Quality Check
After bonding, perform a quality check to ensure the bond is secure. Test the strength by gently pulling the materials apart.
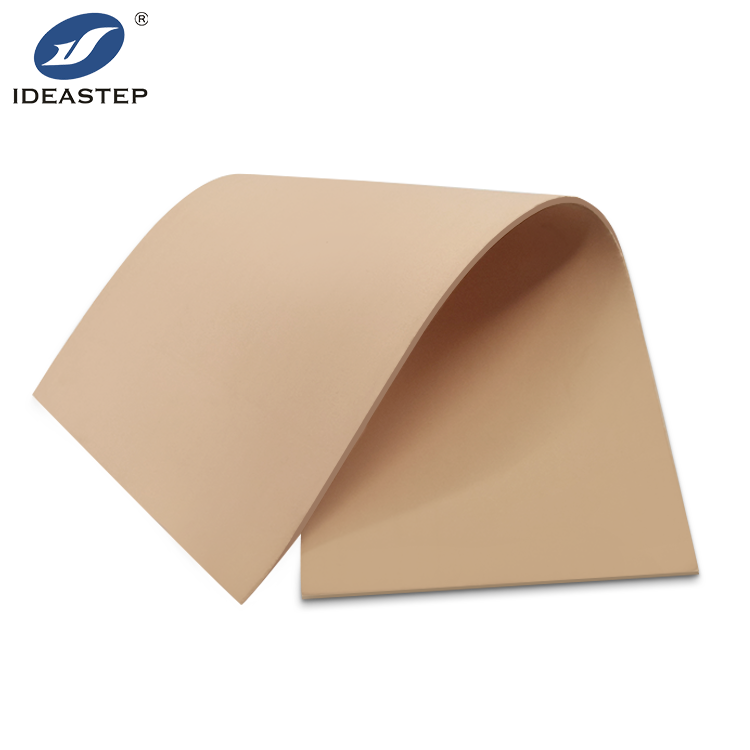
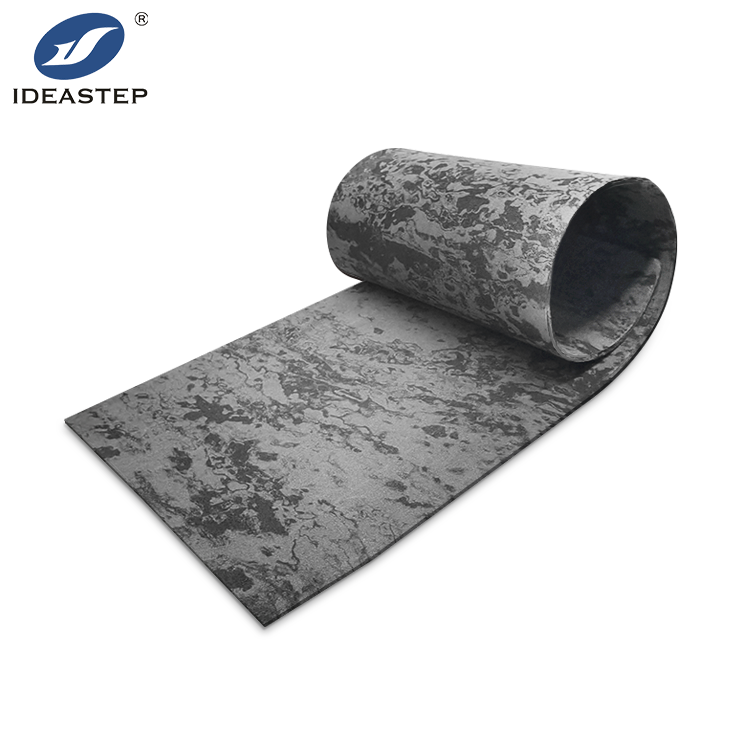
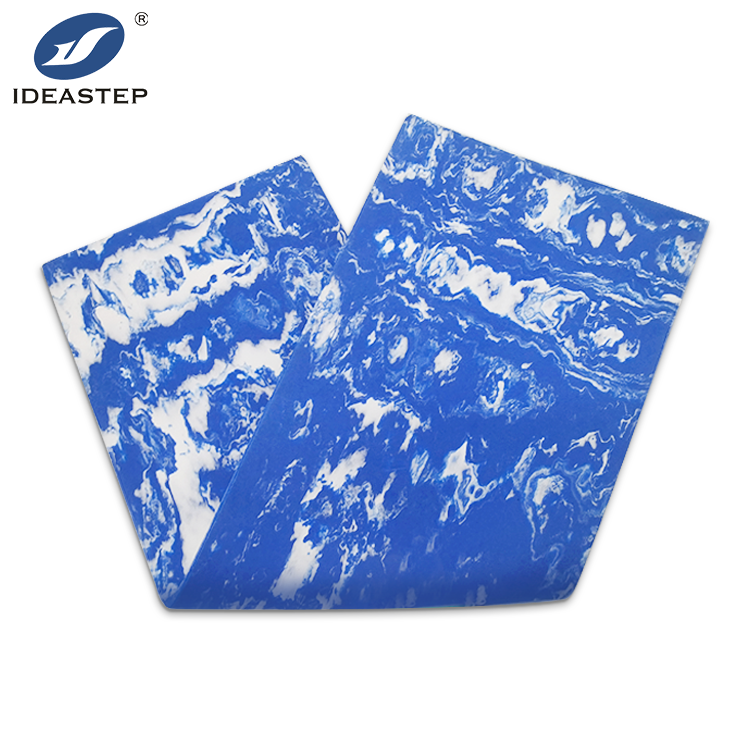
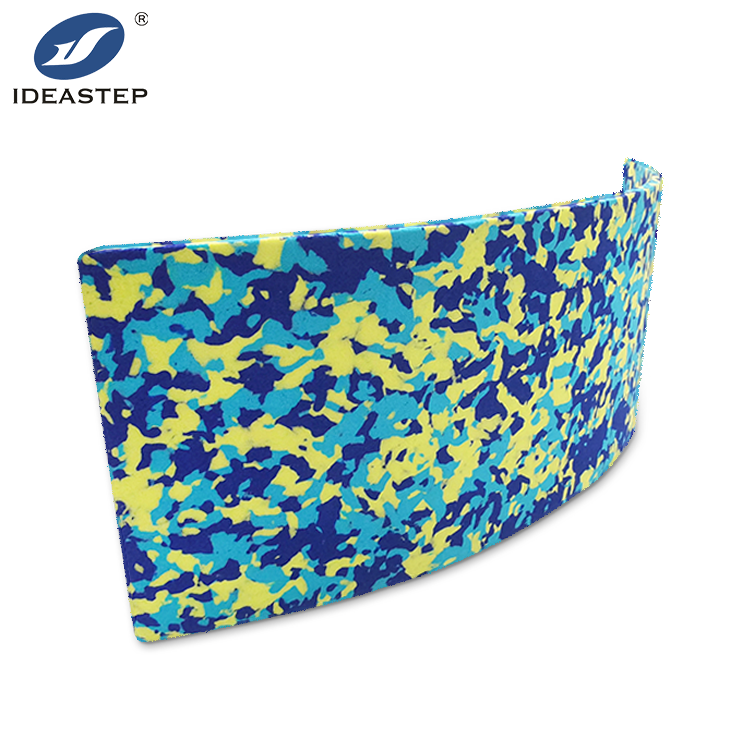
Advantages of Using EVA Hot Melt Sheets
EVA hot melt sheets offer quick application, strong adhesion, and versatility in bonding various materials. Whether for repairs, crafts, or reinforcements, mastering this technique ensures effective use of EVA hot melt sheets in your projects.