Integrating thick, colorful rubber EVA sheets into flooring projects can be challenging but rewarding. This article provides techniques to ensure a seamless and effective installation process, enhancing both aesthetics and functionality.
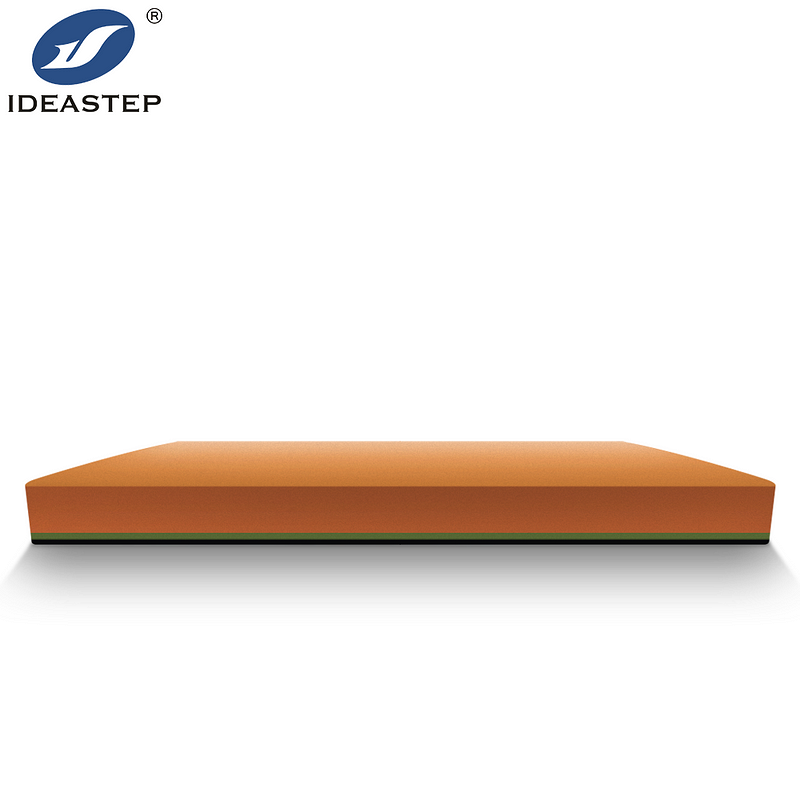
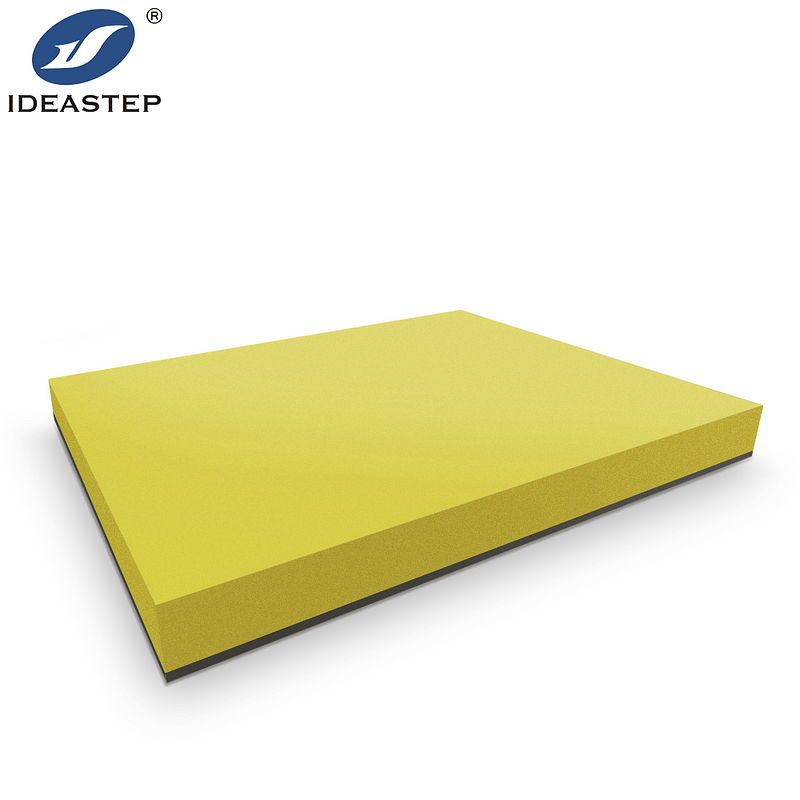
Thick, colorful rubber EVA (Ethylene Vinyl Acetate) sheets are becoming increasingly popular in flooring projects due to their durability, versatility, and aesthetic appeal. Whether used in residential, commercial, or industrial settings, EVA sheets offer unique benefits. However, achieving a seamless integration into flooring projects requires careful planning and execution. This article outlines key techniques to ensure a smooth and successful installation of EVA sheets, enhancing both the visual and functional aspects of your flooring.
1. Proper Surface Preparation
Before installing thick EVA rubber sheets, it is essential to prepare the surface thoroughly. Begin by ensuring that the subfloor is clean, dry, and level. Any debris, dust, or moisture can affect the adhesion and performance of the EVA sheets. For concrete subfloors, it may be necessary to use a primer or sealant to create a smooth, stable base. If the surface is uneven, consider using a self-leveling compound to correct any imperfections. Proper surface preparation will help achieve a flawless finish and extend the lifespan of the flooring.
2. Accurate Measurement and Cutting
Accurate measurement and cutting of EVA sheets are crucial for a seamless installation. Measure the area where the EVA sheets will be installed and cut the sheets accordingly. Use a sharp utility knife or a specialized cutting tool to ensure clean, precise cuts. To avoid waste and ensure a perfect fit, it is advisable to lay out the sheets in the desired pattern before cutting. For larger areas, consider using a template to guide your cutting process. Precise measurement and cutting will help avoid gaps and overlaps, resulting in a professional-looking finish.
3. Proper Adhesive Selection and Application
The choice of adhesive is critical for ensuring a secure bond between the EVA sheets and the subfloor. Select an adhesive that is compatible with both the EVA material and the subfloor type. There are various types of adhesives available, including solvent-based, water-based, and pressure-sensitive adhesives. Follow the manufacturer’s recommendations for application and curing times. Apply the adhesive evenly across the subfloor using a notched trowel, and press the EVA sheets firmly into place. Allow the adhesive to cure completely before walking on or using the floor.
4. Seamless Joint Techniques
To achieve a seamless appearance, pay close attention to the joints between EVA sheets. Overlapping seams can be unsightly and may lead to peeling or lifting over time. For a seamless finish, use a heat welding technique or adhesive seam tape designed for EVA materials. Heat welding involves applying heat to the seams to melt and fuse the edges together, creating a strong, continuous bond. Alternatively, adhesive seam tape can be used to secure the edges and create a smooth, seamless joint. Ensure that seams are aligned properly and pressed firmly to avoid gaps or bubbles.

5. Post-Installation Care and Maintenance
After the installation of EVA sheets, proper care and maintenance are essential to ensure longevity and performance. Clean the flooring regularly using a mild detergent and a soft cloth or mop. Avoid using harsh chemicals or abrasive cleaners, as these can damage the EVA material. Periodically inspect the flooring for any signs of damage or wear, and address any issues promptly. By maintaining the flooring in good condition, you can ensure that it continues to provide excellent performance and visual appeal.
6. Customization and Aesthetic Considerations
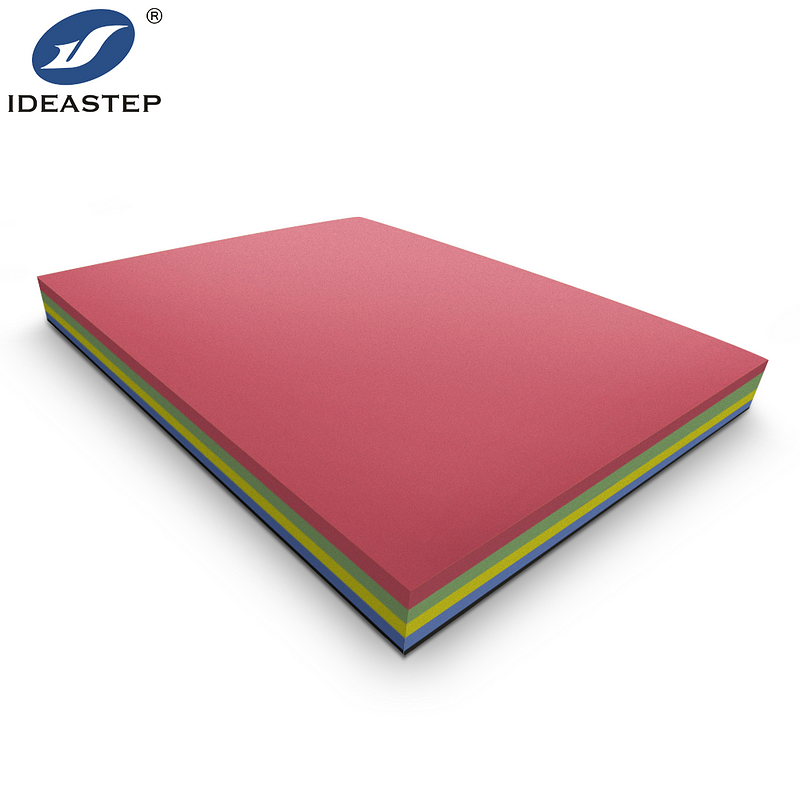
One of the advantages of using thick, colorful EVA sheets is the opportunity for customization and design flexibility. EVA sheets are available in various colors, patterns, and textures, allowing you to create a unique and visually appealing flooring solution. Consider incorporating design elements such as borders, patterns, or logos to enhance the aesthetic impact of the flooring. Customization can add a personal touch to residential spaces or create a branded look for commercial environments.
Conclusion
Integrating thick, colorful rubber EVA sheets into flooring projects requires careful planning and execution to achieve a seamless and effective result. By following the techniques outlined above — surface preparation, accurate measurement and cutting, proper adhesive selection, seamless joint techniques, post-installation care, and customization — you can ensure a high-quality installation that enhances both the functionality and aesthetics of your flooring. With the right approach, EVA sheets can provide a durable, attractive, and practical flooring solution for various applications.
FAQ
1. What are the key benefits of using thick EVA rubber sheets for flooring?
Thick EVA rubber sheets offer benefits such as durability, cushioning, and a wide range of colors and designs. They are ideal for high-traffic areas due to their resistance to wear and tear, and they provide comfort and safety through their shock-absorbing properties.
2. How do I prepare the surface before installing EVA foam sheets?
Proper surface preparation involves cleaning the subfloor, ensuring it is dry and level, and addressing any imperfections. For concrete floors, using a primer or sealant may be necessary to create a smooth, stable base for the adhesive.
3. What adhesive should I use for installing EVA foam sheets?
Choose an adhesive that is compatible with both the EVA material and the type of subfloor. Options include solvent-based, water-based, and pressure-sensitive adhesives. Follow the manufacturer’s instructions for application and curing.